Roof Repair – Storm Damage
How to inspect the roof for storm damage.
- Begin by visually inspecting the roof from the ground. Look for any visible storm damage, such as dents, cracks, or missing shingles.
- Climb up onto the roof and take a closer look at the shingles or tiles. Look for any evidence of storm damage, such as dents, cracks, or missing pieces.
- Check the gutters and downspouts for any debris that may have been left behind by the storm. This can include broken shingles, leaves, and twigs.
- Inspect the flashing around the chimney, vents, and other roof penetrations. Storms can cause storm damage to flashing, which can lead to leaks.
- Check the roof’s ventilation system for any signs of storm damage. Storms can damage the vents and cause them to become blocked, which can lead to moisture problems.
- Look for any storm damage to the roof’s underlayment, which is the layer of material that sits beneath the shingles or tiles. Storms can cause the underlayment to become storm damaged or torn, which can lead to leaks.
- Inspect the roof’s flashing, which is the material that seals the gap between the roof and any vertical surfaces such as walls or chimneys. Storms can cause flashing to become damaged or dislodged, which can lead to leaks.
- Look for any storm damage to the roof’s trim, which is the decorative material that covers the edges of the roof. Storms can cause trim to become damaged or torn, which can lead to leaks.
- If you notice any damage to your roof, make a list of the items that need to be repaired or replaced. You may need to hire a professional roofing contractor to assess the extent of the damage and recommend the necessary repairs.
How to repair a roof from storm damage.
Repairing a roof after a storm is a necessary task to protect your home from further damage. However, it is also a complex and potentially dangerous task that should be undertaken with caution. If you are not comfortable or confident in your ability to complete the repair, it is recommended that you hire a professional roofing contractor.
Step 1: Assess the Damage
The first step in repairing a roof after a storm is to assess the damage. Start by inspecting your roof for any visible damage. Look for dents, cracks, or missing shingles. Make a list of the items that need to be repaired or replaced.
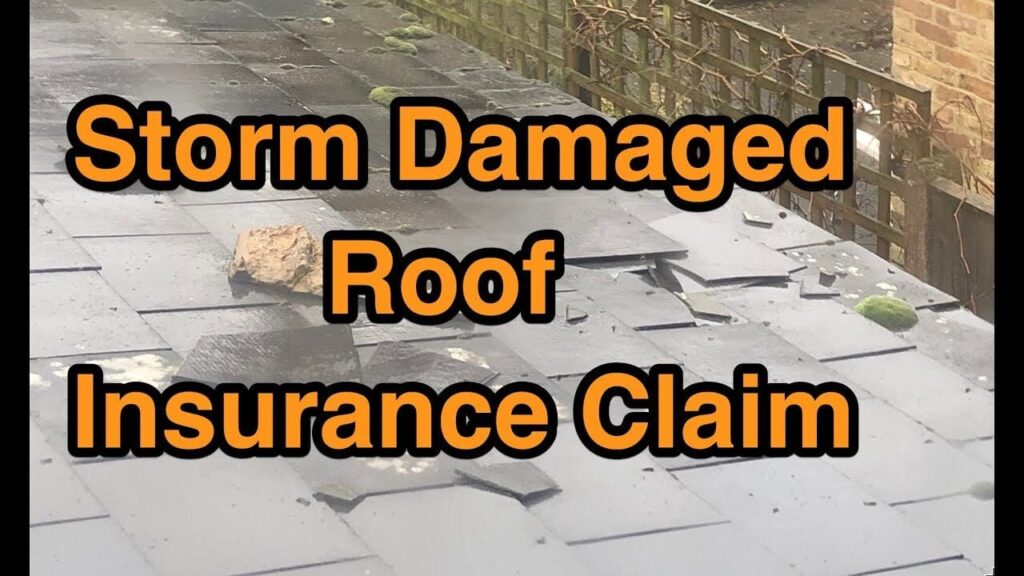
Step 2: Contact Your Insurance Company

If you have insurance coverage for storm damage, contact your insurance company to file a claim. Your insurance company will send an adjuster to assess the damage and determine the cost of the repairs. Keep track of any receipts or estimates for repairs, as these may be needed for your insurance claim.
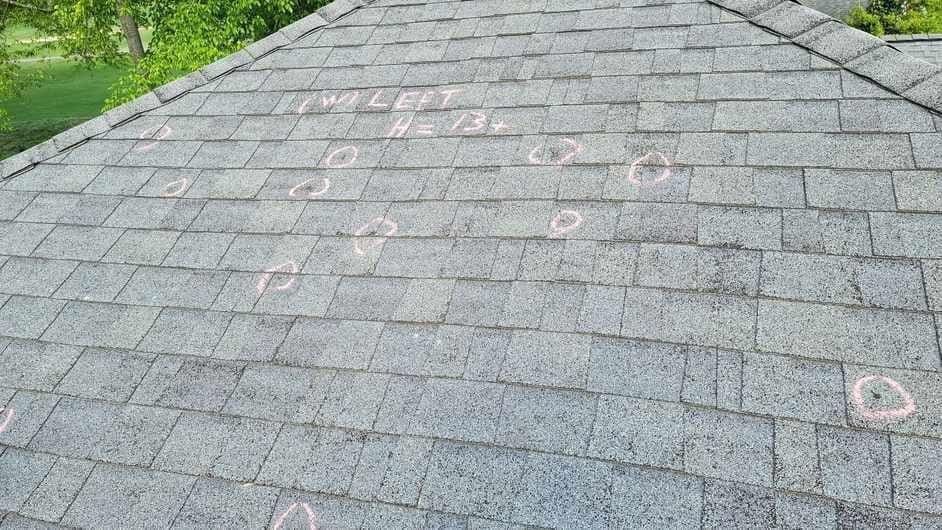
Step 3: Document the Damage
Take photos of the damage to your roof and any other parts of your home that were affected by the storm. These photos will be useful for your insurance claim and will help you keep track of the extent of the damage.
Step 4: Make Temporary Repairs
If there is any damage that could cause further damage to your home if left unrepaired, make temporary repairs to prevent further damage. This may include covering holes in the roof with a tarp or installing a temporary roof.
Step 5: Remove the Damaged Shingles or Tiles
Once the storm has passed and it is safe to work on your roof, you can begin the process of repairing the storm damage. Carefully remove the damaged shingles or tiles using a pry bar. If the shingles are cracked, you may be able to remove the damaged portion and leave the rest of the shingle in place.
Step 6: Install New Shingles or Tiles
Measure the area where the new shingles or tiles will be installed and cut them to size using a utility knife. Secure the new shingles or tiles in place using roofing nails or adhesive. Make sure to use the same type of shingles or tiles as the rest of the roof to ensure a cohesive look.
Step 7: Repair Any Underlying Damage
If the storm has caused damage to the underlying structure of your roof, you will need to repair it before installing new shingles or tiles. This may involve replacing damaged wood or sealing any holes or cracks.
Step 8: Clean Up
Once you have repaired the damage, sweep up any debris and dispose of it properly. Be sure to dispose of any materials that may have been contaminated by the storm, such as asbestos-containing materials or moldy insulation.
Step 9: Inspect Your Work
Once you have finished the repairs, inspect your work to ensure that it was completed correctly and that there are no further issues that need to be addressed. Look for any signs of leaks or other problems that may have been caused by the storm. It is important to keep in mind that repairing a roof can be a complex and potentially dangerous task, especially if you are not familiar with roofing techniques. If you are not comfortable repairing the roof yourself, it is recommended that you hire a professional roofing contractor to handle the repairs for you.